In Linux, ulimit is a built-in tool to manage resource allocation at global, group, and user levels. For a multi-user system like Linux, such a feature is almost paramount to have. It can prevent the consumption of unwanted system resources like RAM, and CPU power.
Check out how to set ulimit value permanently on Linux.
Ulimit value
Ulimit enforces the predefined limit of how much resources a user can use. The tool uses a certain configuration file as the core to assign the ulimit values. For more fine-tuned control, it’s better to edit the file.

There are two types of limits that can be imposed: soft and hard limits. It’s better to explain these types with a simple example.
Let’s say a system admin would like a certain user to hover around a certain value. Here, the user can exceed the value if necessary but not hard-bound by it. In this case, it’ll be a soft limit. On the other hand, if the admin wants to strictly impose the limit, then it’ll be a hard limit.
Using ulimit
Ulimit is a command-line tool. Here’s the basic structure of the ulimit command.
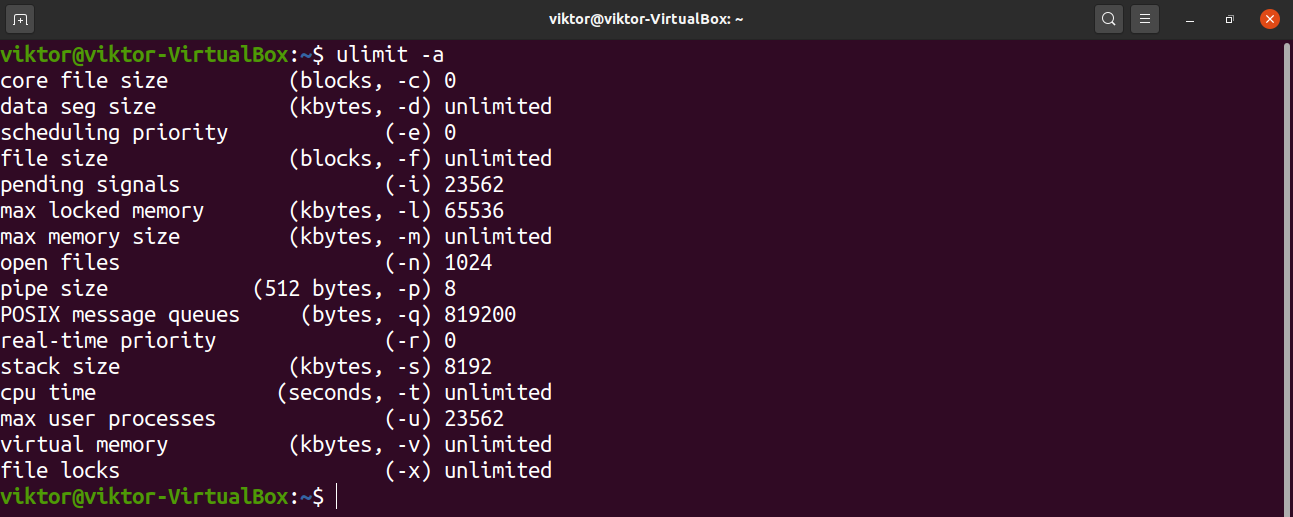
Display all limits
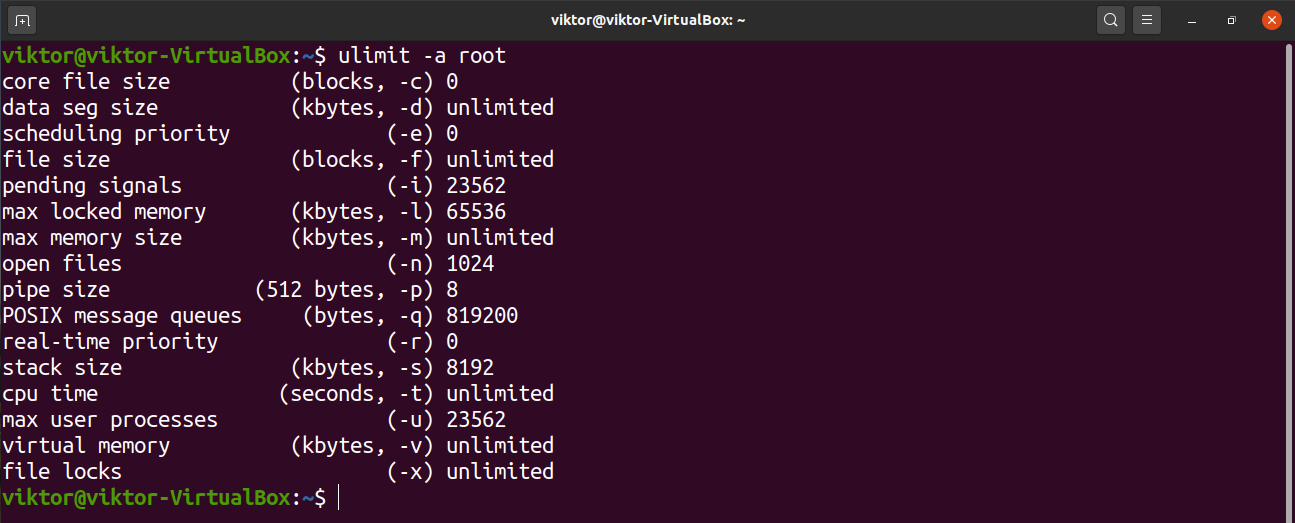
The “-a” flag will list all the options and configurations for a particular user. If no user is defined, it’ll print the limits for the current user instead.


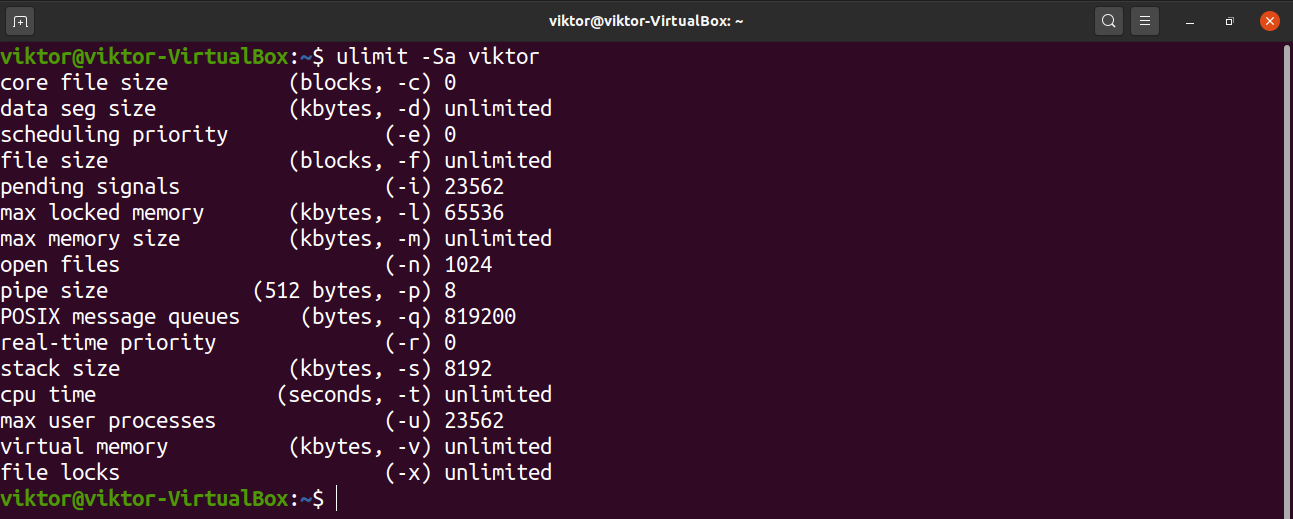
To display the soft limits of a user, use the “-S” flag.

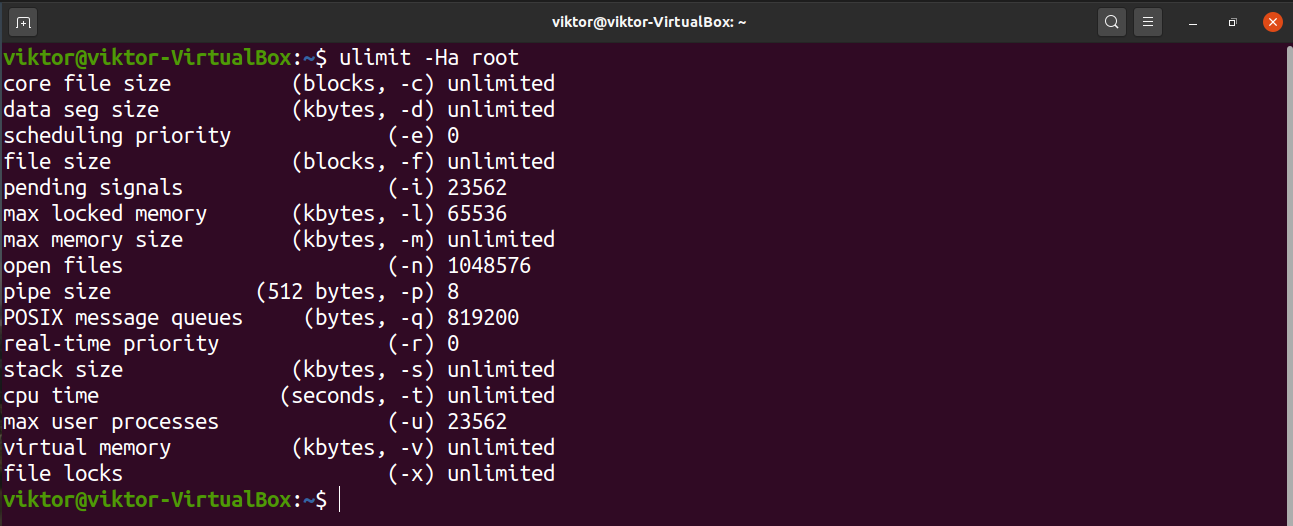
To display the hard limits of a user, use the “-H” flag.

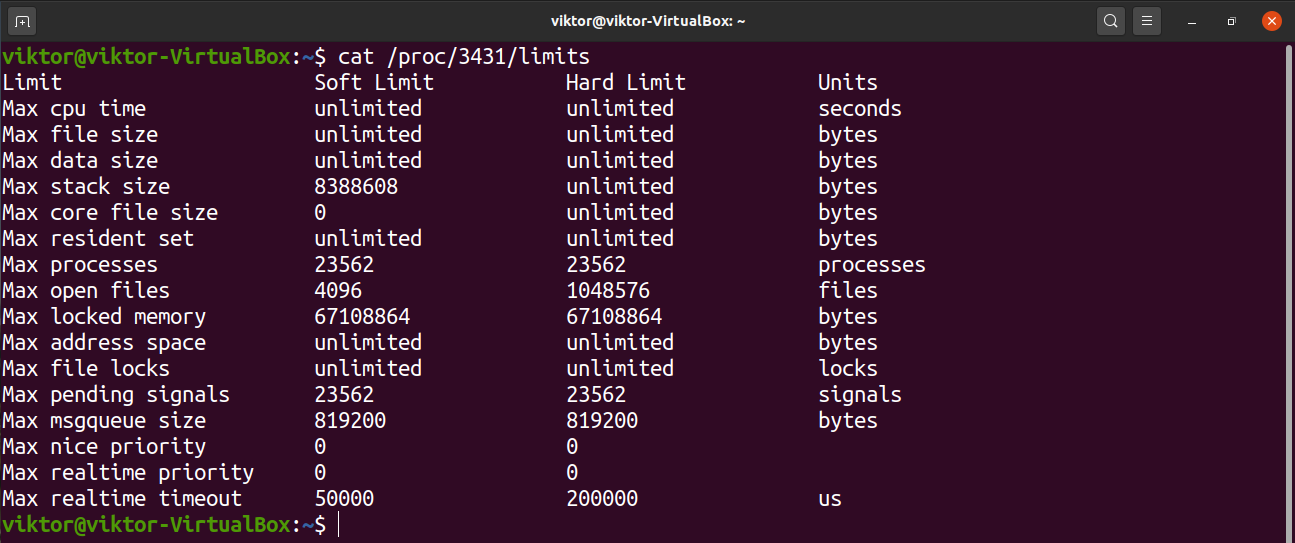
It’s possible to see the limits of a certain process. The details are located in the following file. Note that it’s a unique file for each of the processes that are currently running. Swap the PID field with the PID of the target process.
Limit parameters
To change the ulimit, you have to declare which type of limit you’d like to define. Here’s a shortlist with all the available parameters you can change. Almost all of them define the maximum value of each of the parameters.
- b: Socket buffer size
- c: Size of core files created
- d: Process’s data segment size
- e: Scheduling priority (“nice” value)
- f: Number of files created by the shell
- i: Number of pending signals
- l: Size to lock into memory
- m: Resident set size
- n: Number of open file descriptors
- p: Pipe buffer size
- q: Number of bytes in POSIX message queues
- r: Real-time scheduling priority
- s: Stack size
- t: CPU time (in seconds)
- T: Number of threads
- u: Number of processes available to a user
- v: Amount of virtual memory available to process
- x: Number of file locks
Change ulimit value temporarily
It’s possible to temporarily change the value of ulimit for a particular user. The change will remain effective until the user is logged out, the session expires or the system reboots. Here, I’ll be showing an example of how to set the max process number for a user.
To change the number of available processes to 12345, run the following command. It’ll impose a temporary hard limit on the user.


Check out the hard limit to verify.

Change ulimit value permanently
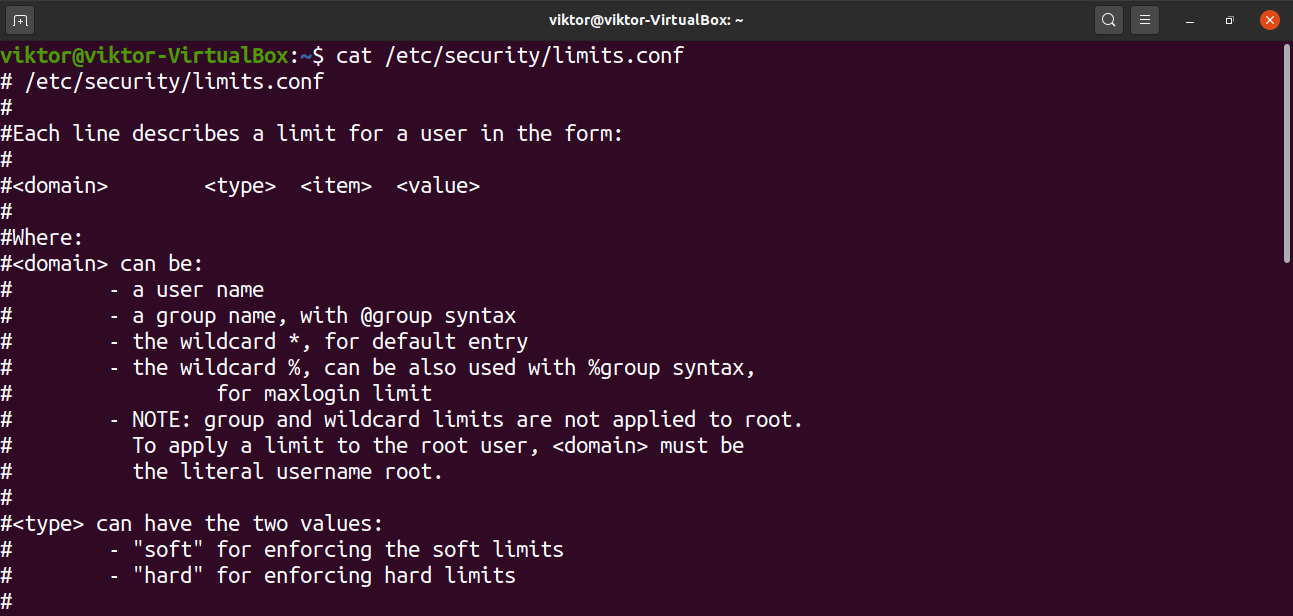
As mentioned earlier, ulimit utilizes a system configuration file that determines the default ulimit value. By making changes to this file, you can permanently change the ulimit value for any user.
Open the file in your favorite text editor. Note that the file has to be opened with root permission for the changes to be saved.
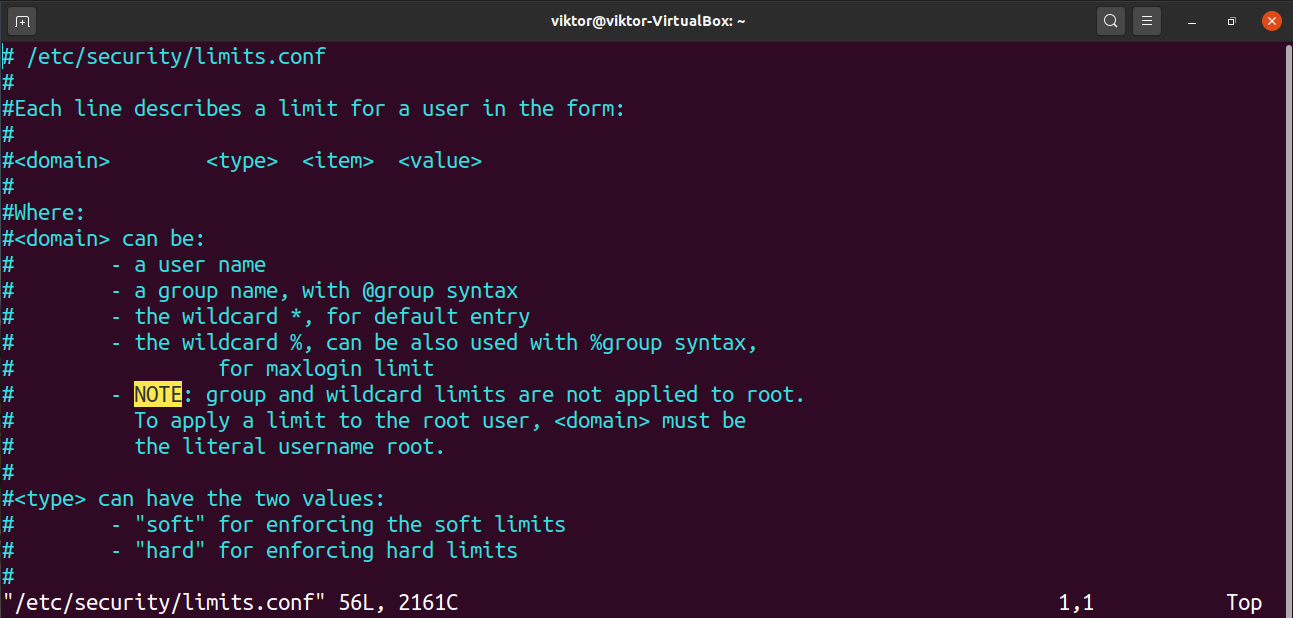
Here, the entries of the file follow the following structure.
Let’s have a quick breakdown of each of the fields.
- domain: Usernames, groups, GUID ranges, etc.
- type: Type of limit (soft/hard)
- item: The resource that’s going to be limited, for example, core size, nproc, file size, etc.
- value: The limit value
Here’s a shortlist of all the available items.
- core: Limits core file size (in KB)
- cpu: CPU time (in min)
- data: Data size (in KB)
- fsize: File size (in KB)
- locks: File locks user can hold
- memlock: Locked-in-memory address space (in KB)
- nproc: Number of processors
- rtpio: Real-time priority
- sigpending: Number of signals pending
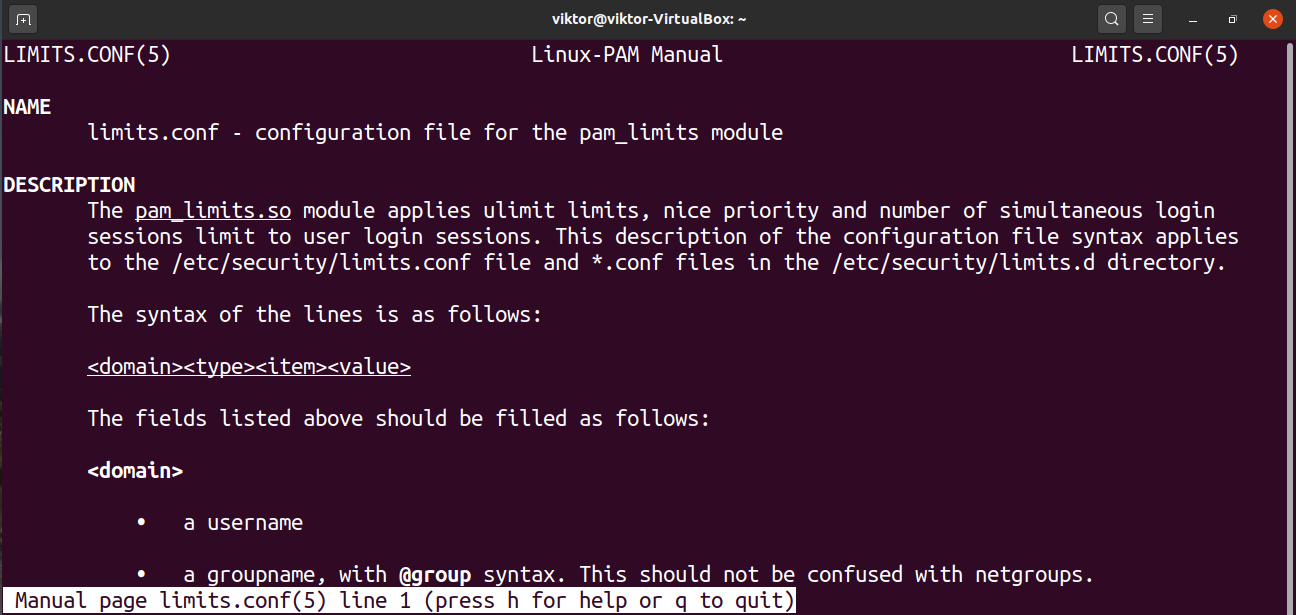
For a full list of available items, check out the man page of limits.conf.

For example, the following entry would limit the number of CPU cores the user “Viktor” can use down to 2.
Once edited, save the file. To take the changes into effect, the affected user(s) need to log out and re-login. Depending on how it’s implemented, it may also require the system to reboot.
Final thoughts
The ulimit tool offers a powerful way of managing resources. It’s simple yet powerful in what it does. Whatever you do, make sure that the limit you’re about to implement is entered correctly. If you’re trying these things out for the first time, then try to test them out in a virtual machine first.